This is a picture of my wrapping paper, gift bags and ribbons. Looking at it you know what the first thing I need to do is. That's right. DE-CLUTTER.

I took this picture to show you my collection of recycled ribbon. It usually is arranged a little neater but I had already thrown it all away and had to dump it back into the box to show you how courageous I am being. De-cluttering takes a lot of courage for me.

While I was going through the ribbon and trying to decide whether to keep the ribbon or not I found one that was held together by an elastic in back making it a perfect head band for me. I enjoyed wearing it the rest of the day.

I knew I wanted to make my wrapping paper station hang on the back of a closet door so when I saw these over the door hooks in the clearance aisle at TJMaxx I grabbed it.

Trying to figure out how I was going to design my station I played around with my gift bags and hung them on the hooks by size (more or less).
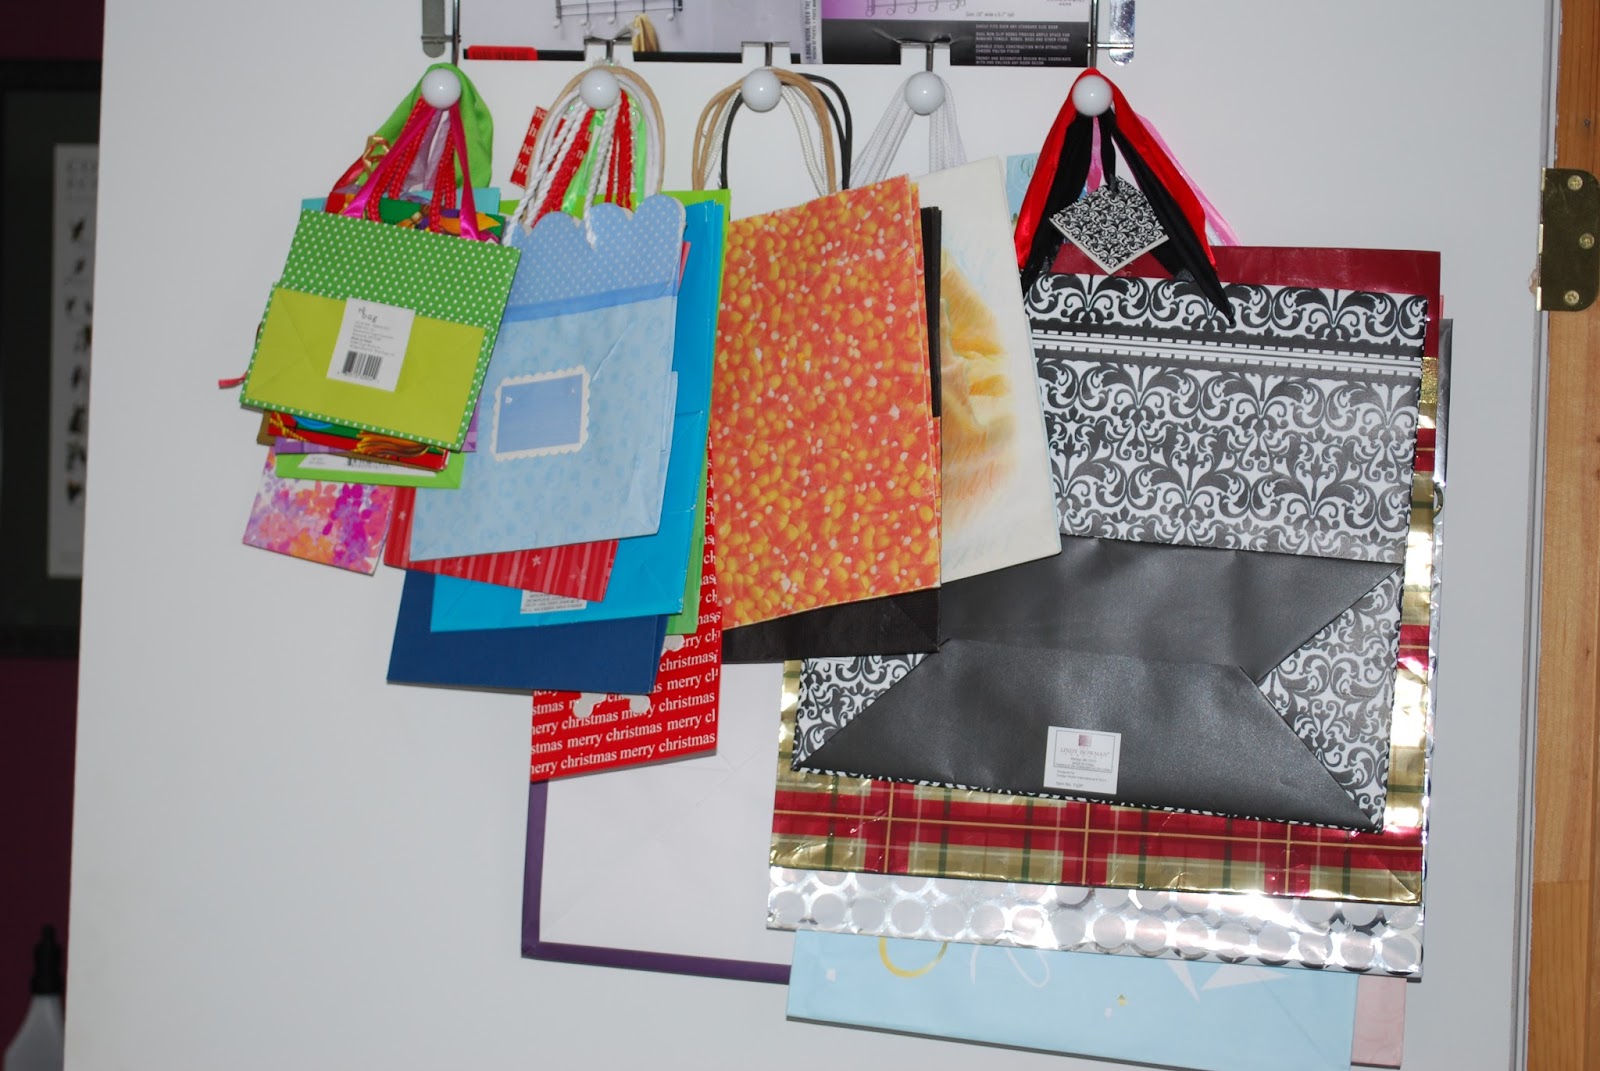
So I think I have too many bags and may want to give some away.
Now that I could see what I had left I came up with a plan for my station. Since my goal was to spend as little as possible to make this work I went shopping around the house and yard. My husband had some wood slats that he had used last year to make tomato cages. These would work perfectly to make the shelves I wanted to put on the frame I made using a 1x2 piece of pine purchased from Home Depot.


After hammering the slats into shelves and nailing the shelves to the frame I had all that I needed to organize.
Here is my finished project!
Much better than the two boxes under the bed!

The chain that I used to hang the frame to the hooks was an old chain left over from some hanging baskets we had used in the yard, making the final cost for me to make this wrapping paper station $7.50. The over the door hooks cost $5, the 1x2 pine board used for the frame cost $1.25 and a small dowel used to hold the tissue paper was another $1.25 Not too bad! OK I lie. I forgot the paint primer I used that cost $2.99 add a little for tax and the grand total is $11.
.
The Ribbon shelves have room to add more supplies such as tags and cards.

Organizing the bags according to similar colors made the bags look so much more organized than in the picture before

As you can see I don't have too many rolls of wrapping paper but now that I have a place to put them where they won't get smushed (not really a word) and destroyed I am sure I will be acquiring some more.

With small cup holder hooks screwed into the front I was able to put a wooden dowel to hold tissue paper. Yes my tissue paper is mostly recycled tissue paper from gifts given to my family. I used to feel a little embarrassed about that but now I just say that I am going green.

Thanks for your patience waiting for this post. It would have taken even longer to finish but my husband said that "you just don't paint crates" (which is kind of the look that inspired this station). "It is best to go for the natural look". Since I was so excited to finish this project and show it to you I agreed.
I would love to hear any creative ideas you have for storing your wrapping paper.
so was it worth the effort or would it have been easier to just buy the system you liked? I do appreciate that you are going green - I wish more people would do that.
ReplyDeleteIt would have been easier to buy the other system but not by much and when I wrapped a present using my system the other day I thought it was way worth it. It took me a fraction of the time it used to because I could see everything at a glance and all my supplies were right there. It was pure joy.
DeleteThanks for the comment